|
|
|
Ahh...all that major work out of the
way...what's left was just sanding, polishing, bending, applying, twisting,
admiring......![]()
 - Can you see your face...?
 |
I sanded down the heatsink even further because the drilling left behind all those bits of metal shavings. So, I polished it off using the 1200 grit. Looking pretty good! Sanding this can be done in two ways - You can use one of your hands to hold the sandpaper, the other to hold the heatsink and sand away OR you can tape a piece of sandpaper to the table using duct tape and start sanding. This way ensures that you get a damn flat surface... |
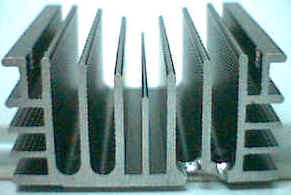 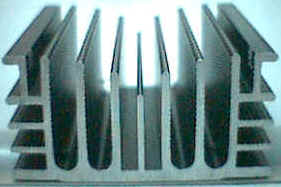 |
I had to smoothen out one of the sides because of that hole I made for that pesky little component. But then I thought, "hmm...looks quite odd...why not sand both sides?!" I sanded both sides and man does this guy look good! You've gotta come take a look at this for yourself! |
 -
Looks good too! -
Looks good too! |
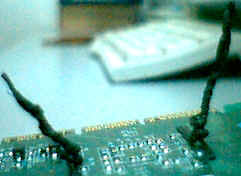
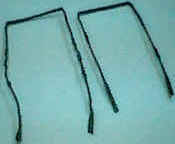
OK, that's all done, now for the cable ties. All I had to do to them is to bend them at the holes on the heatsink, place them in the heatsink, then pull each side until I couldn't pull anymore. (make it as tight as possible!!!) Now that's done... What's next? |
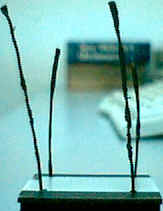 
1) This is how the
heatsink looked like with the cable ties placed through
it...notice - the Websters Dictionary in the background...hehehe
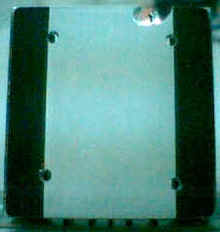
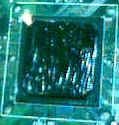
2) The TnT2 with the thermal grease. More sticky-icky
stuff.. |
Now, I tried to find the easiest way to put on the heatsink without messing up the thermal grease. Once I found a way, I applied a thin layer of thermal grease to the TnT2. hmm...not so leveled out, but it's OK, because when the heatsink gets smashed on, it should all level out nicely. Then, I slowly guided the cable ties that held the heatsink into the holes on the board. Slowly...slowly...! DONE! I then twisted the cable ties and placed the whole card on top of a flat surface. (My good friend - The Websters Dictionary) Then, I placed a heavy object over it (My other good friend - The Chambers Dictionary) and left it overnight. ZzzzzzZzzzZzzzz... |
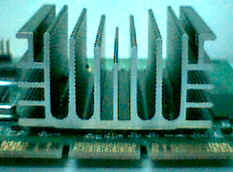 |
Ahh...morning's here and I've already taken away the dictionaries. The cable ties underneath were twisted even tighter to ensure good contact between chip and the heatsink. hmm...looks pretty neat! Now to screw the fan back on. |
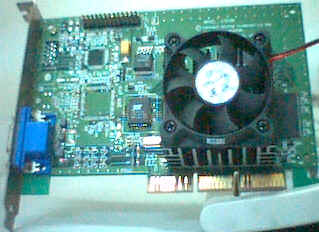

Wow!!! |
Well, well! Looks
like I got myself a super-cooled TnT2!!! But of course, I wouldn't
really know yet as I haven't done any tests. Ok then, I shall now
re-install my TnT2 and do some testing! I'll be back with the results
soon and hopefully there won't be a
Part III... |
Once again, a special
thanks to Danny Lim from Overclockers
Paradise, Malaysia for his motivation and for following me throughout the
process of making this article, My sister Nicole
for being my spelling and grammar check ![]() and Jim
Phillips from Millisec for his tips.
All pictures were taken by my PROLINK
Web Cam.
and Jim
Phillips from Millisec for his tips.
All pictures were taken by my PROLINK
Web Cam.
< < < Page II < < < > > > Results & Conclusion > > >
DISCLAIMER : NEITHER DANNY, JIM OR I CAN BE HELD LIABLE FOR ANY DAMAGES THAT YOU HAVE CAUSED TO YOUR OWN GRAPHIC CARD FROM TRYING TO DO THIS WITHOUT ANY PROFESSIONAL ASSISTANCE. DON'T COME RUNNING AFTER US SAYING THAT WE OWE YOU A NEW GRAPHIC CARD, ETC. DO THIS AT YOUR OWN RISK OR JUST ASK US TO HELP YOU OUT. -AMEN-